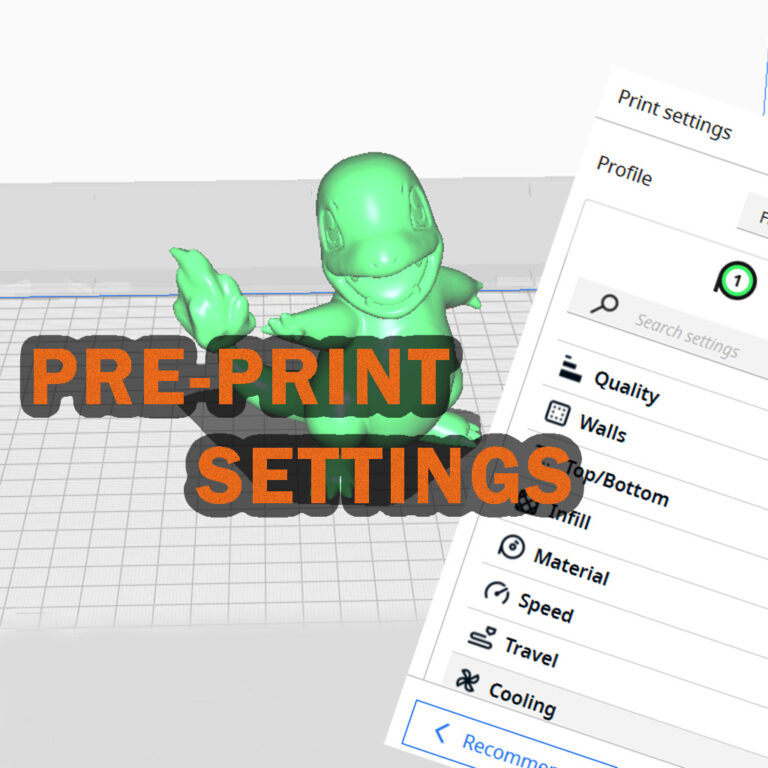


Optimize Your 3D Printing Settings for Better Print Quality
Optimal 3D Printing Speed
Printing speed is one of the most crucial factors affecting print quality. The ideal printing speed varies depending on the type of model, its intended use, and the printing material. Choosing an inappropriate speed can lead to undesirable results.
Why is printing speed related to multiple parameters, including the filament used?
Printing speed affects not only the rate at which filament is melted and extruded through the nozzle but also the operational speed of mechanical and electronic components. Therefore, printing speed is not just a time-related parameter.
It is worth noting that when selecting the printing speed during slicing, the software calculates how much material should be melted at any given time to form the object. If the speed exceeds the limit values, under-extrusion may occur, meaning the filament does not melt and flow properly, leading to poor layer adhesion.
Different printing materials (such as PLA, ABS, PETG) have their ideal working speed ranges. Some filament manufacturers provide recommended speed ranges along with suggested printing temperatures.
General Guidelines for Printing Speed
- Lower speeds generally result in higher print quality, but significantly increase print time.
- Small and detailed parts require lower speeds for precision.
- Larger, less detailed surfaces can be printed at higher speeds.
- A common best practice is to print infill at higher speeds while keeping outer layers slower and more carefully printed for better surface quality.
Common Printing Speed Ranges in the 3D Printing World
- Low Speed (20-40 mm/s):
Suitable for detailed and precise prints, as well as outer surfaces requiring high quality. - Medium Speed (40-60 mm/s):
The most commonly used and ideal speed range for general-purpose prints. - High Speed (60-80 mm/s):
Suitable for infill printing and objects with simple geometries that do not require high detail.
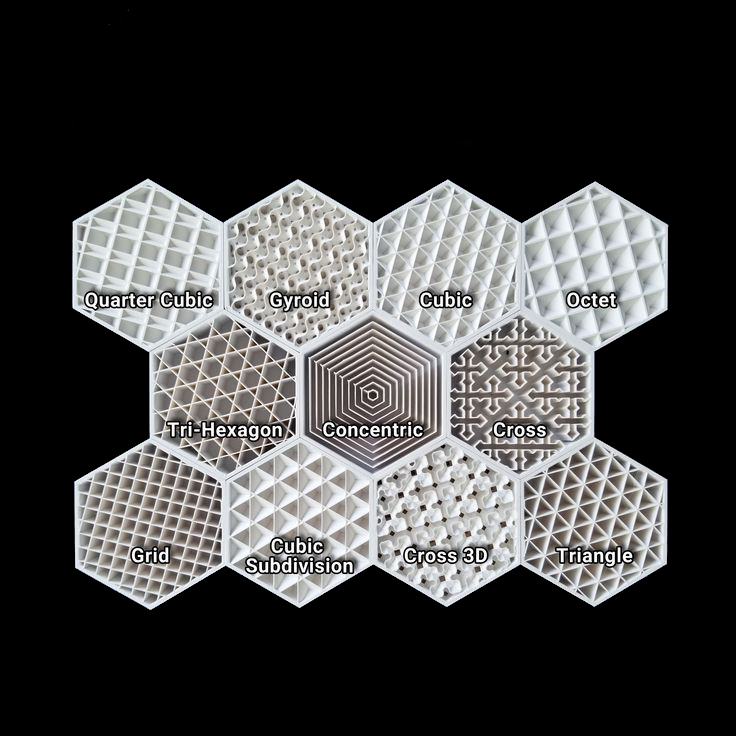
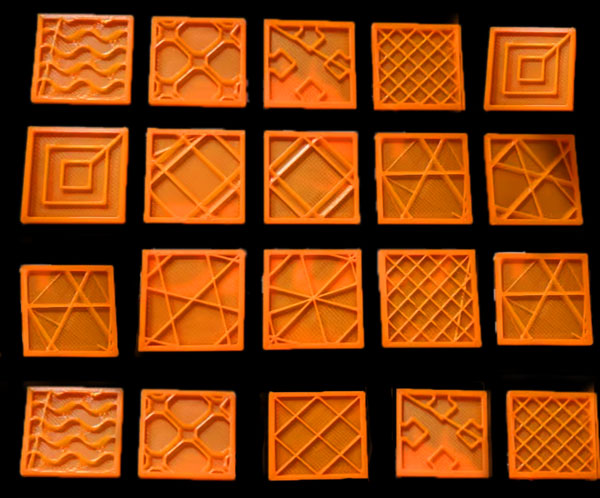
Infill Density and Infill Pattern Selection
Infill density determines how much of the interior of a printed object is filled, expressed as a percentage. Infill pattern refers to the internal structure used to fill the object. Both factors significantly affect print quality, functionality, and aesthetics.
Key Factors to Consider in Infill Selection:
Before choosing the infill density and pattern, consider the following:
- Is the object decorative?
- Is it functional and will it endure mechanical stress?
If our object is a decorative or lightweight model, we can choose an infill density between 10% and 20%. If our object will be subjected to a load, meaning we aim to produce a durable object, our infill density can range between 50% and 100%.
Infill density does not directly affect the appearance of the outer surface; however, in prints with very low density, indentations may occur on the outer surfaces.
As expected, a higher infill percentage means longer print times and higher costs. 😊
Infill patterns should be selected according to the intended use of the object. Each pattern has its own advantages and disadvantages. Parameters such as whether the object requires durability, load distribution, printing speed requirements, and flexibility should be considered.